Anleitung virtueller MikroTik Router
Auf dieser Seite erklären wir Ihnen, wie Sie bei uns einen BGP-Router einrichten. In dieser Anleitung verwenden wir das Betriebsssystem RouterOS von MikroTik. Diese Anleitung setzt voraus, dass Sie im Besitz einer Autonomen System Nummer (ASN), eines virtuellen oder Internet Exchange Servers sind. Zudem benötigen Sie ein IPv4 oder IPv6 Subnetz, welches Sie später per BGP an Ihre Upsteams und Peers ankündigen können.
Anforderungen
- Autonome System Nummer
- Virtueller Server / IX Server
- Präfix (IPv4 / IPv6 )
Bestellen (Virtueller Server / IX Server)
Sollten Sie noch nicht im Besitz einer ASN sein, empfehlen wir Ihnen, zuerst eine ASN über unsere Webseite zu bestellen, da dies einige Tage in Anspruch nehmen kann. Anschliessend bestellen Sie einen virtuellen oder IX-Server Ihrer Wahl. Der Standort und Typ spielt hierbei keine Rolle.
Nachdem Sie den gewünschten Server ausgewählt haben, können Sie diesen konfigurieren, wählen Sie das Betriebssystem aus der Liste aus und geben Sie Ihre ASN und ggfs. weitere Informationen ein.
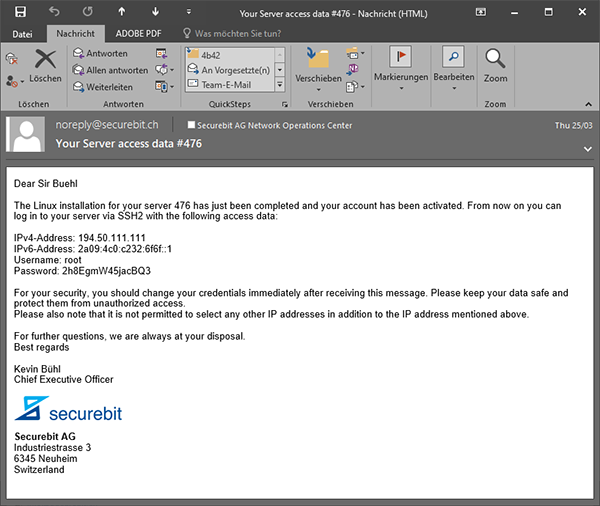
Anschliessend geben Sie Ihre Kontaktdaten ein und verifizieren Ihre E-Mail Adresse. Überprüfen Sie zum Schluss Ihre Bestellung und schliessen Sie die Zahlung ab. Ihr Dienst wird nun automatisch nach erfolgreicher Zahlung bereitgestellt und Sie erhalten Ihre Zugangsdaten innerhalb weniger Minuten per E-Mail.
Konfiguration (Netzwerk)
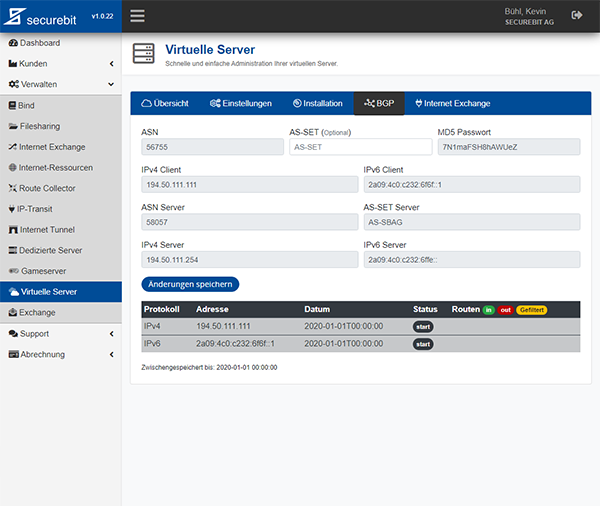
Sobald Sie Ihre Zugangsdaten erhalten haben, melden Sie sich am Cloud Manager Webinterface mit Ihrer E-Mail Adresse und dem bei der Bestellung gewählten Passwort an. Klicken Sie nun in der Navigation links auf den Menüpunkt Verwalten und anschliessend auf Virtuelle Server.
Wählen Sie den gewünschten virtuellen Server aus und wechseln Sie in die Registerkarte BGP. Hier können Sie (sofern vorhanden) ein AS-SET und ein Passwort für die BGP Sitzung setzten. Klicken Sie auf Speichern, um die Änderungen zu übernehmen. Unser System wird nun im Hintergrund Ihre BGP-Session einrichten.
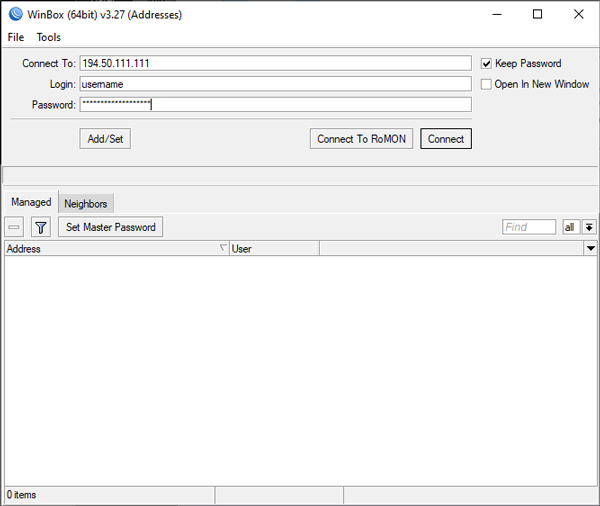
Beginnen wir nun mit der Konfiguration Ihres virtuellen MikroTik Cloud Hosted Router (CHR). Verbinden Sie sich dazu über den Browser, WinBox oder SSH mit Ihrem MikroTik Router.
/ipv6 address add address=2a09:4c0:c232:6f6f::1/64 advertise=no interface=ether1
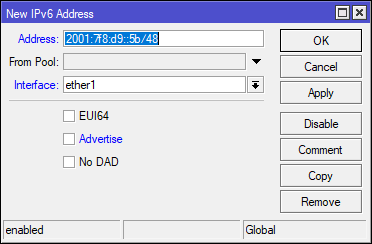
Bitte achten Sie beim Hinzufügen von neuen IPv6 Adressen darauf, dass Sie den Haken bei Advertise entfernen. Diese Funktion ist für lokale Netzwerke, welche Sie nur intern mit dynamischen Clients sinnvoll nutzen können. Allerdings sorgt diese Funktion bei öffentlichen und Internet Exchange Anschlüssen bzw. Netzwerken für Probleme.
Alternativ können Sie Adressen auch per CLI hinzufügen. Achten Sie hier auf den Parameter advertise=no
