Inhaltsverzeichnis
Informationen
| Verfasser | Bühl, Kevin |
| Erstellt | 04.07.2020 |
| Aktualisiert | 07.07.2020 |
| Angesehen | 13.02.2026 |
| Aufrufe | 6.644 |
Neueste Artikel
- Microsoft Windows - Entfernen des Ver...
- Veeam Backup and Replication auf eine...
- Mobotix - Reportdatei einer Kamera mi...
- Microsoft Outlook - Es liegt ein Prob...
- IPSec Tunnel zwischen MikroTik und Zy...
Beliebte Artikel
Preface
In this manual we explain how to set up an IPv6 tunnel (optionally with BGP) on a MikroTik router.
The following requirements only apply to BGP tunnels, if you want to create a normal IPv6 tunnel, you can ignore the requirements.
Requirements
To establish a BGP tunnel you need an Autonomous System Number (ASN) and at least one IPv6 subnet. Below you will find the links to our shop:
-
Dieser Link wurde entfernt. Links sind nur für Mitglieder sichtbar. Bitte melden Sie sich mit Ihrem Benutzernamen und Ihrem Passwort an und versuchen Sie es erneut.
-
Dieser Link wurde entfernt. Links sind nur für Mitglieder sichtbar. Bitte melden Sie sich mit Ihrem Benutzernamen und Ihrem Passwort an und versuchen Sie es erneut.
Preparation
Tunnelbroker Account
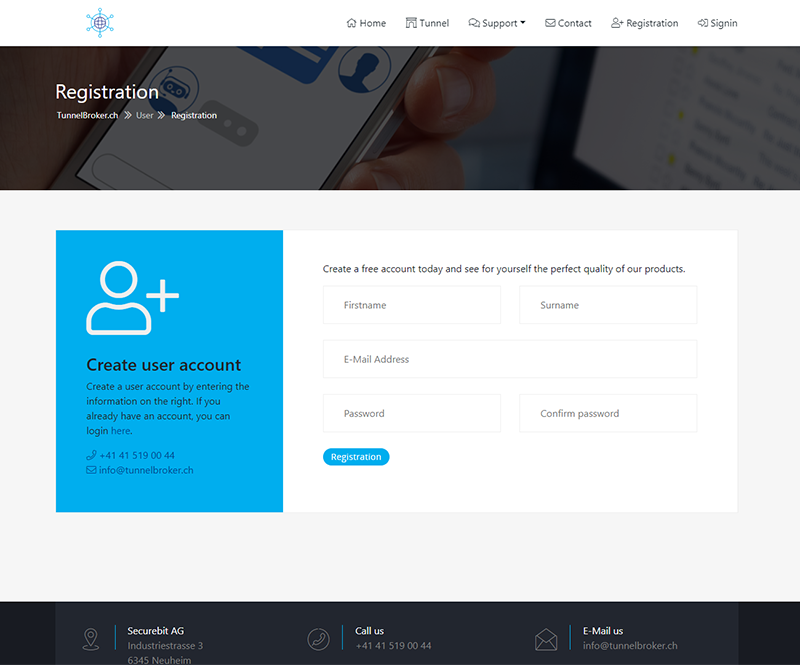

Account creation
Now create a
Dieser Link wurde entfernt. Links sind nur für Mitglieder sichtbar. Bitte melden Sie sich mit Ihrem Benutzernamen und Ihrem Passwort an und versuchen Sie es erneut.
user account if you do not have one yet.-
Dieser Link wurde entfernt. Links sind nur für Mitglieder sichtbar. Bitte melden Sie sich mit Ihrem Benutzernamen und Ihrem Passwort an und versuchen Sie es erneut.
-
Dieser Link wurde entfernt. Links sind nur für Mitglieder sichtbar. Bitte melden Sie sich mit Ihrem Benutzernamen und Ihrem Passwort an und versuchen Sie es erneut.
Confirm your e-mail address by clicking on the link in the e-mail you receive after registration.
MikroTik Router
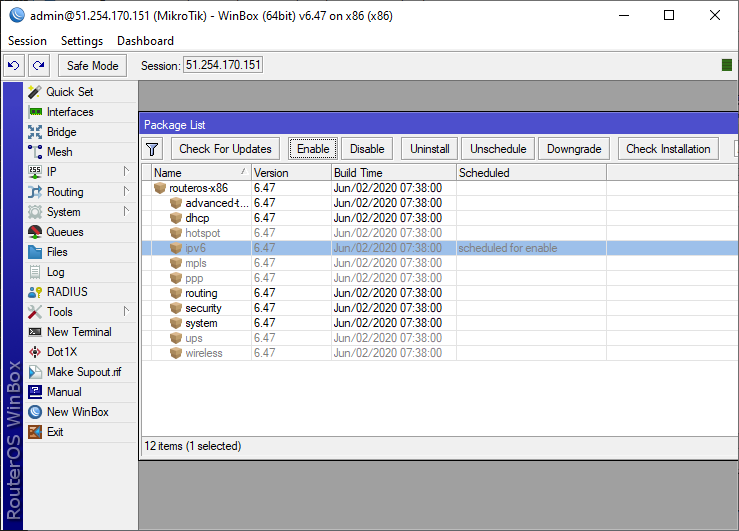

MikroTik RouterOS
We use a MikroTik Router with firmware version 6.47 and a network card ether1, which is directly connected to the Internet.
Our basic configuration looks like:
# jul/04/2020 15:28:07 by RouterOS 6.47
/ip address
add address=51.254.170.151 interface=ether1 network=194.94.111.254
/ip cloud
set update-time=no
/ip dns
set servers=1.1.1.1,8.8.8.8
/ip route
add distance=1 gateway=194.50.111.254
/ip service
set telnet disabled=yes
set ftp disabled=yes
/ip address
add address=51.254.170.151 interface=ether1 network=194.94.111.254
/ip cloud
set update-time=no
/ip dns
set servers=1.1.1.1,8.8.8.8
/ip route
add distance=1 gateway=194.50.111.254
/ip service
set telnet disabled=yes
set ftp disabled=yes
Tunnel
Creation
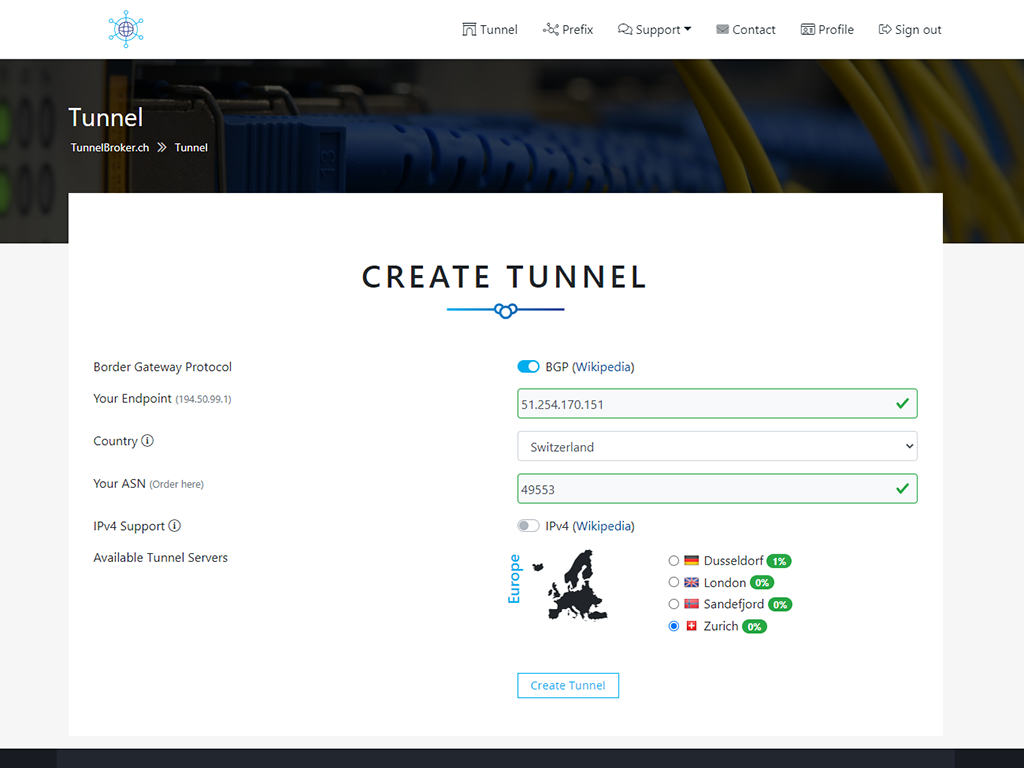

Create BGP IPv6 Tunnel
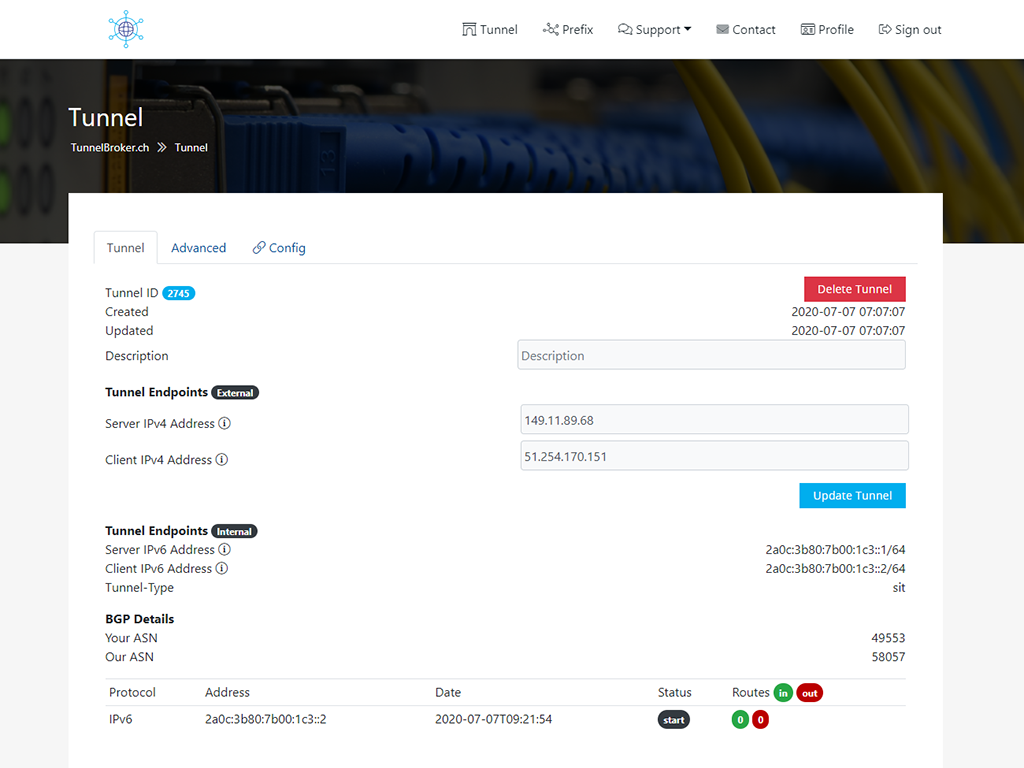

BGP IPv6 Tunnel-Details
Now go to the tunnelbroker.ch website, click on Tunnel in the navigation at the top and then on Add.
A new page will appear, enter your public IPv4 address for the new tunnel here. Also make sure that it is accessible via ICMP (ping).
If your address does not respond to ICMP requests, please contact our support and we will disable this feature for your account.
You can also select the country for your IPv6 subnet (/64). If you activate the BGP checkbox, you also have to enter your AS number.
Once your tunnel is created, you will automatically be redirected to the page with your tunnel information. Here you can see the tunnel server and your tunnel client IP address.
You will also see the IPv6 addresses of the server and your site. If you enable BGP, you will see your BGP session information and the routes that have been imported and exported at the bottom of the page.
Please Note that we update the filters for the imported routes daily at 23:00 and in the IRR database a route object which must exactly match the prefix that will be imported.
Configuration
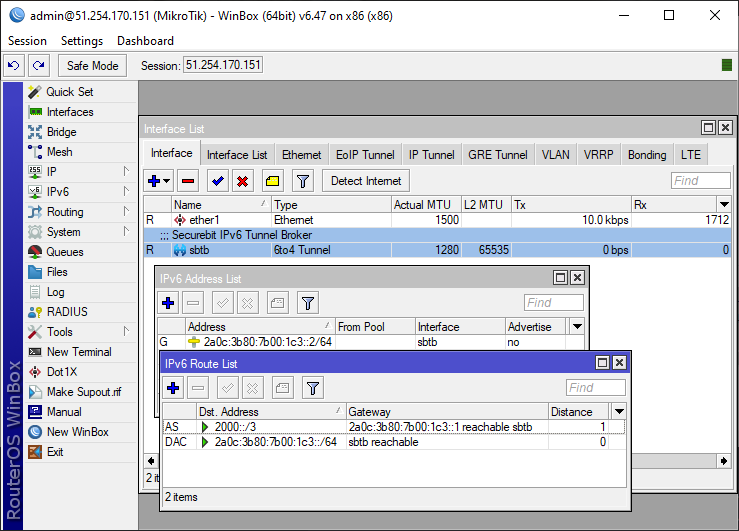

MikroTik SIT Ipv6 Tunnel
After you have created a tunnel, you can now set it up. The configuration examples can be found in the Configuration tab, where your tunnel information is also displayed.
/interface 6to4 add disabled=no local-address=51.254.170.151 mtu=1280 name=sbtb remote-address=149.11.89.68
/ipv6 address add address=2a0c:3b80:7b00:1c3::2/64 advertise=no disabled=no eui-64=no interface=sbtb
/ipv6 route add disabled=no distance=1 dst-address=2000::/3 gateway=2a0c:3b80:7b00:1c3::1 scope=30 target-scope=10
Of course you can do the configuration manually, just create the tunnel interface, configure the IPv6 address and then create a route./ipv6 address add address=2a0c:3b80:7b00:1c3::2/64 advertise=no disabled=no eui-64=no interface=sbtb
/ipv6 route add disabled=no distance=1 dst-address=2000::/3 gateway=2a0c:3b80:7b00:1c3::1 scope=30 target-scope=10
BGP
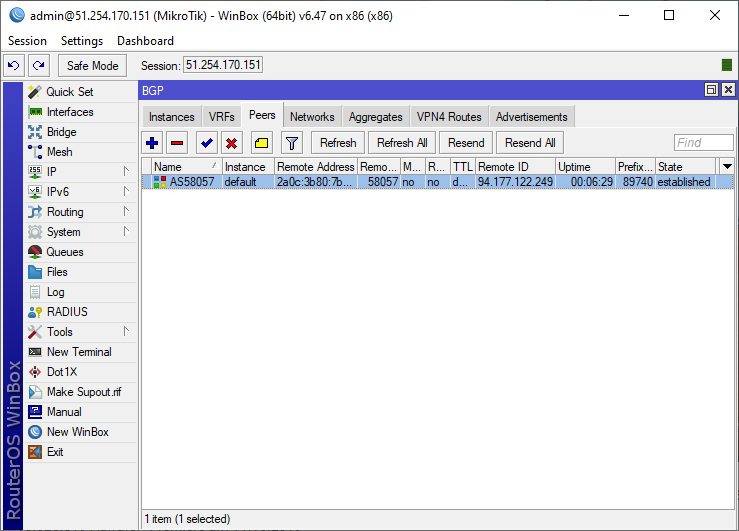

MikroTik BGP Setup
If you have BGP enabled and an ASN, you can set up your BGP session as follows:
# Replace 49553 with our asn
/routing bgp instance set default as=49553
# Place your ipv4 and/or ipv6 networks here
/routing bgp network add network=2a0c:3b84:1::/48 synchronize=no
/routing filter
add action=accept chain=out prefix=2a0c:3b84:1::/48
add action=discard chain=out
# Change ipv6 addresses here to your tunnel ips
/routing bgp peer
add address-families=ipv6 name=AS58057 out-filter=out remote-address=2a0c:3b80:7b00:1c3::1 remote-as=58057 ttl=default update-source=2a0c:3b80:7b00:1c3::2
Um diesen Eintrag vollständig sehen zu können, müssen Sie ein Kunde der Securebit AG sein. Dazu können Sie ein belibites Produkt aus unserem Sortiment bestellen.
Sollten Sie bereits Kunde sein, können Sie sich hier anmelden.
Sollten Sie bereits Kunde sein, können Sie sich hier anmelden.